
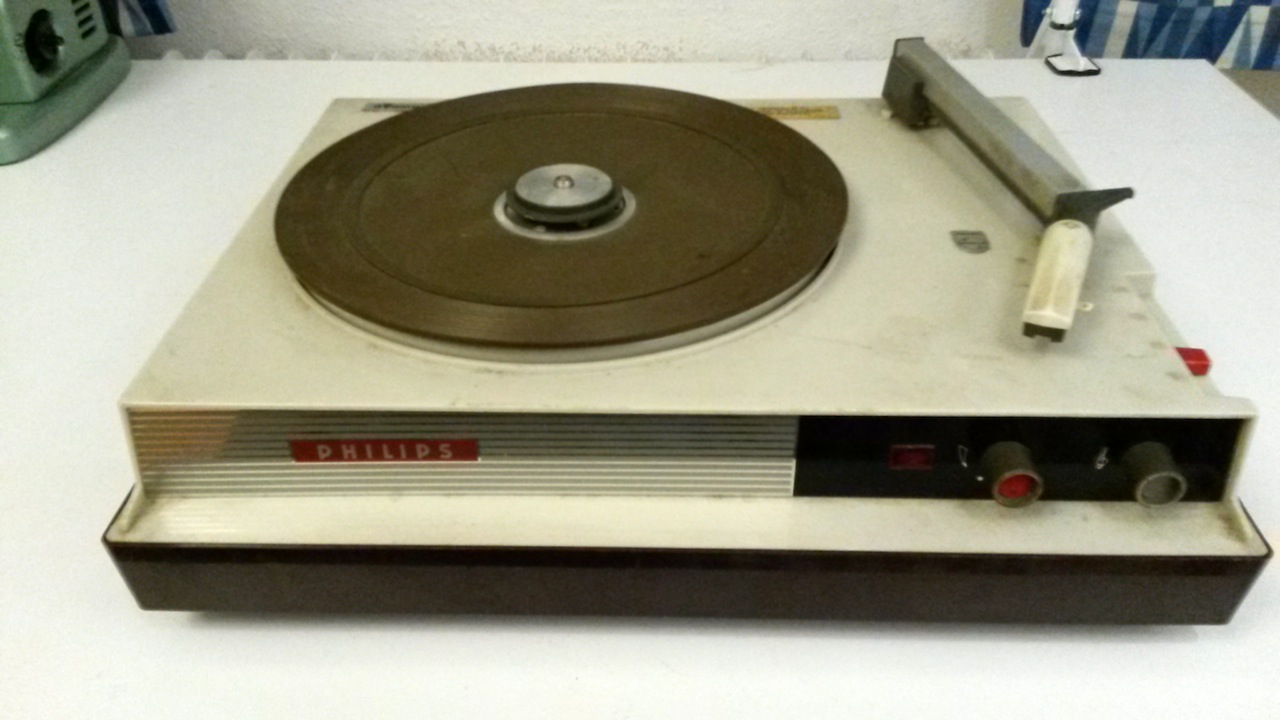
The loose codplayer components look a bit messy, so I wanted a nice housing for codplayer. A Philips record player from 1966, bought in a thrift store and unlikely to work, seemed like a good donor.
All of this but the DAC should be squeezed into the record player housing:

The record player was built April 19, 1966:
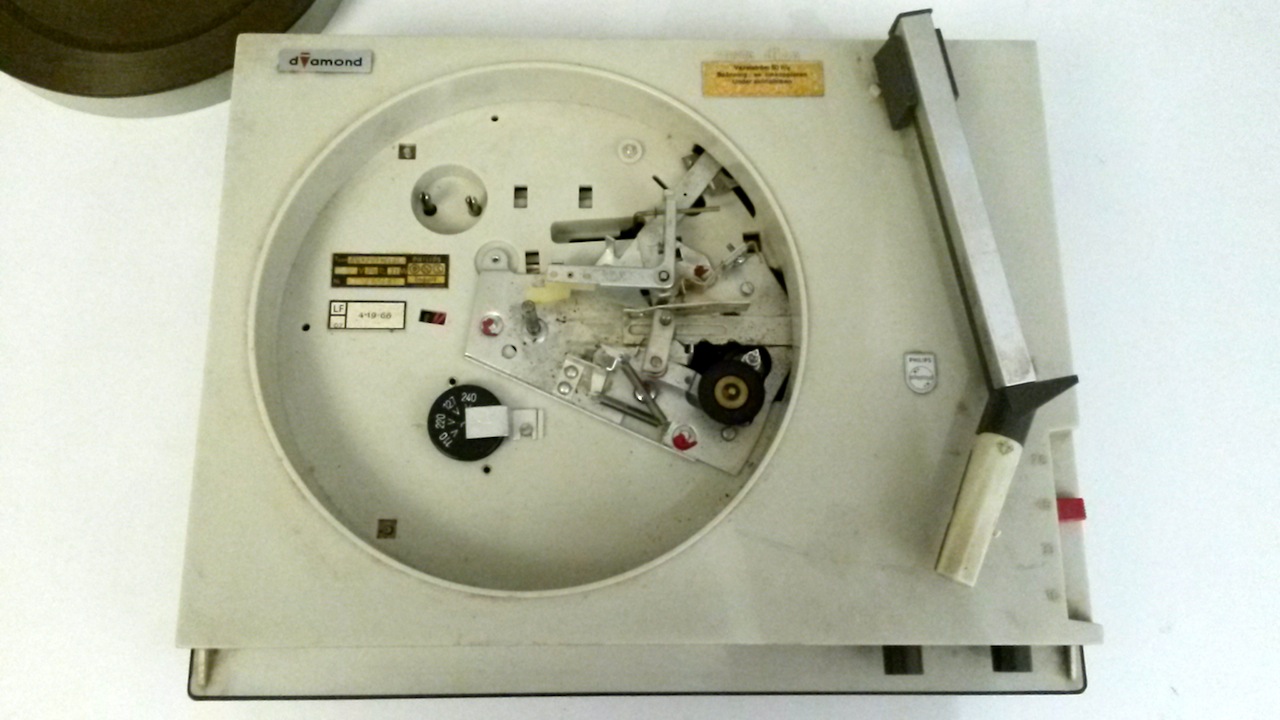
The electrical connections are a bit scary, as 220V are coursing through a lot of unisolated solder points. I wouldn’t dare connect this thing to mains power.

The brown oblong is the rear side of the voltage selector from the previous picture. Hidden behind the circuit board is the main power switch behind the volume knob. The grey bundle of wires go to yet more unprotected solder points just next to the low-power amplification stage.
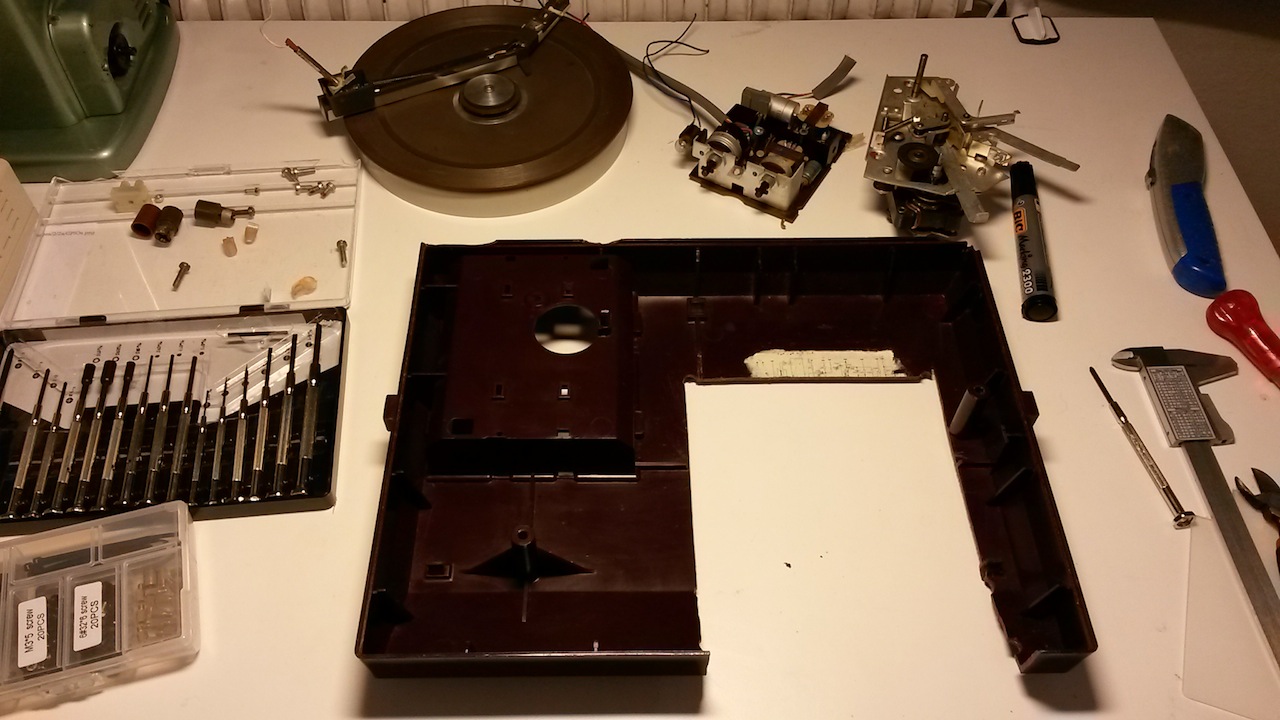
Removed parts and the lower half of the body after a lot of violence:
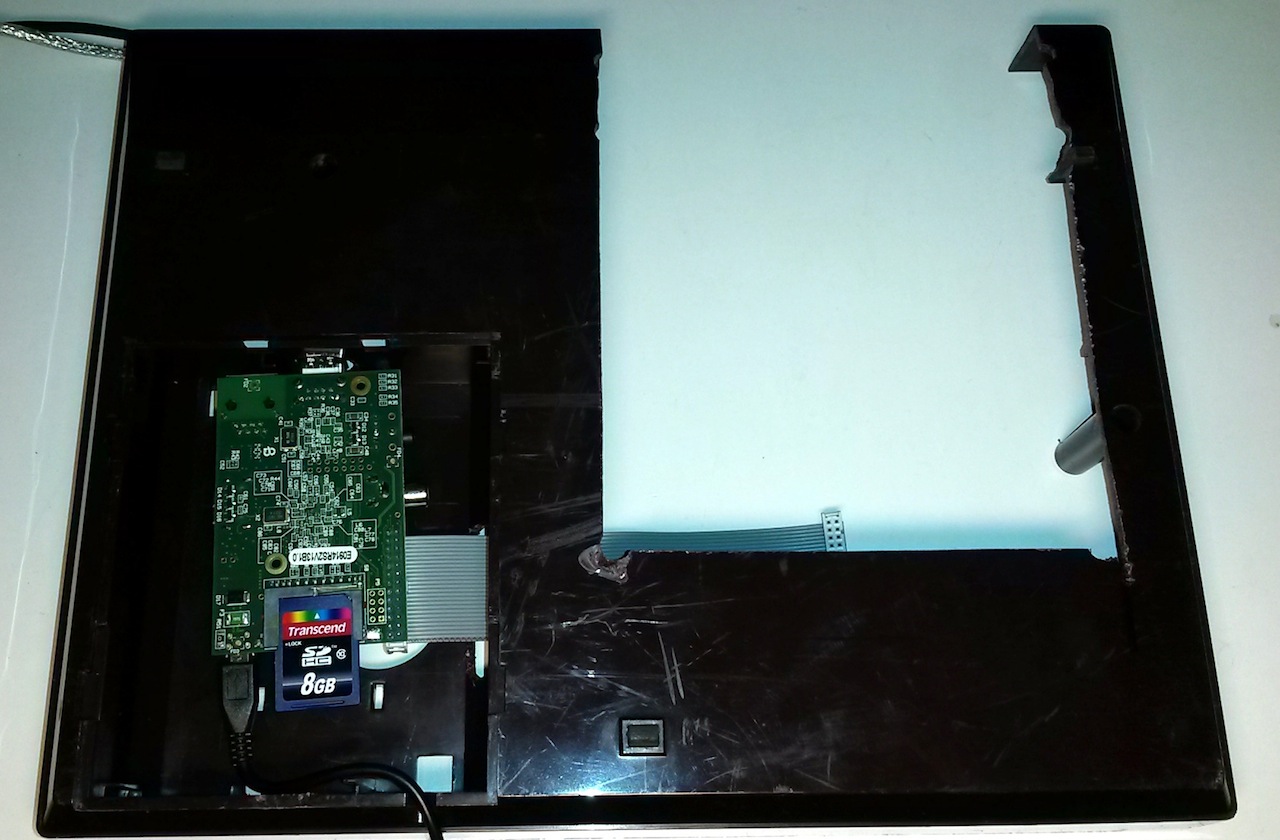
It turns out to be very little space in the record player to fit a 5.25” full-height CD-ROM, so I have to cheat by placing the body around the CD-ROM unit rather than fully contain it. Two more holes are yet to be cut into the power cord compartment at the upper left by the time of that picture.
Here the holes are finished and the body has been flipped over to install the Raspberry Pi in the power cord compartment. The compartment lid will protect the raspie.
The components just about fit into the record player body:
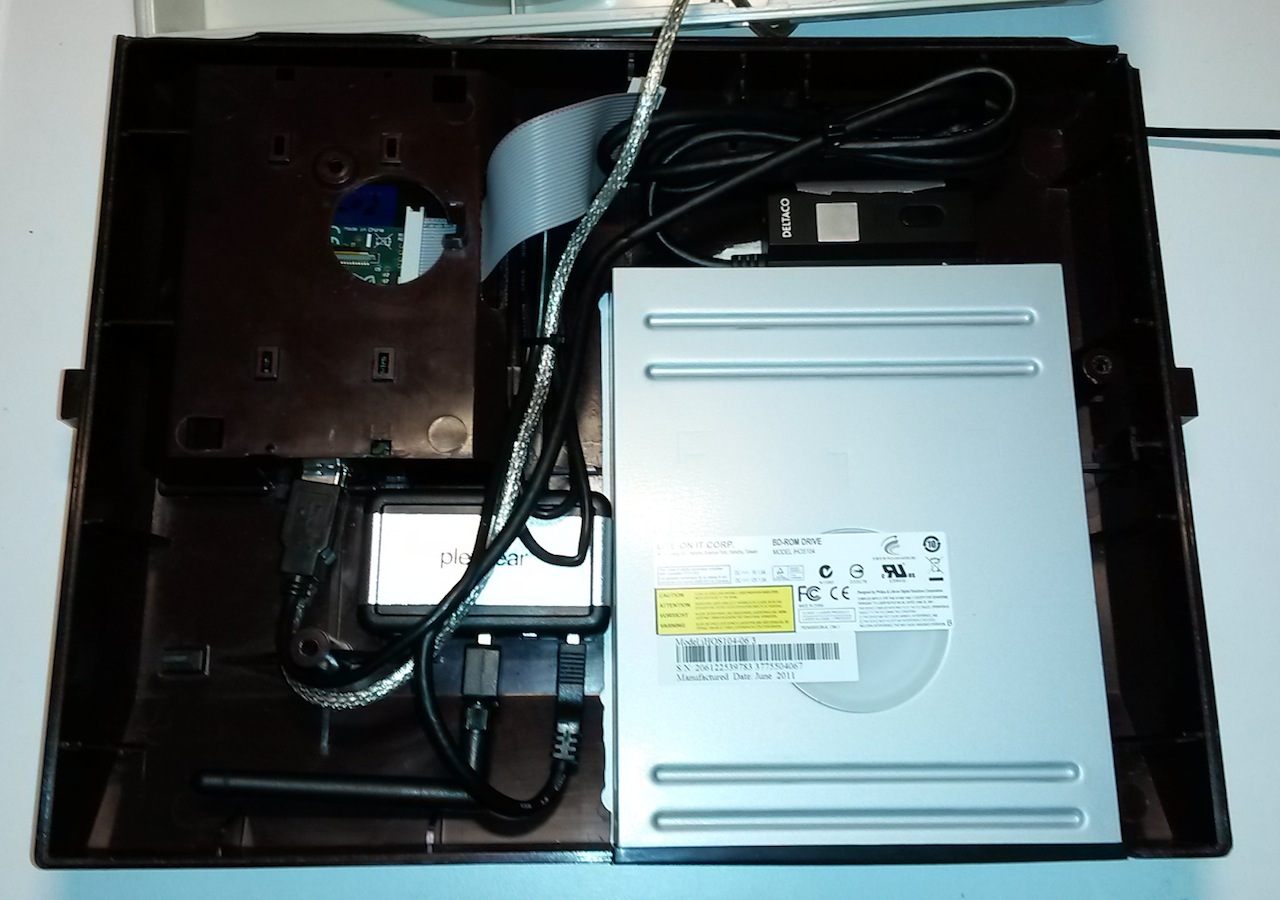
The silver USB wire exits the box to connect to the DAC. The other USB wire goes to the USB hub in the box, which connects the USB-SATA adapter and the wifi dongle (lower left). The GPIO cable is not yet used, but will eventually connect a small circuit board to link up an IR sensor and an LCD display.
The finished codplayer housing, after polishing:
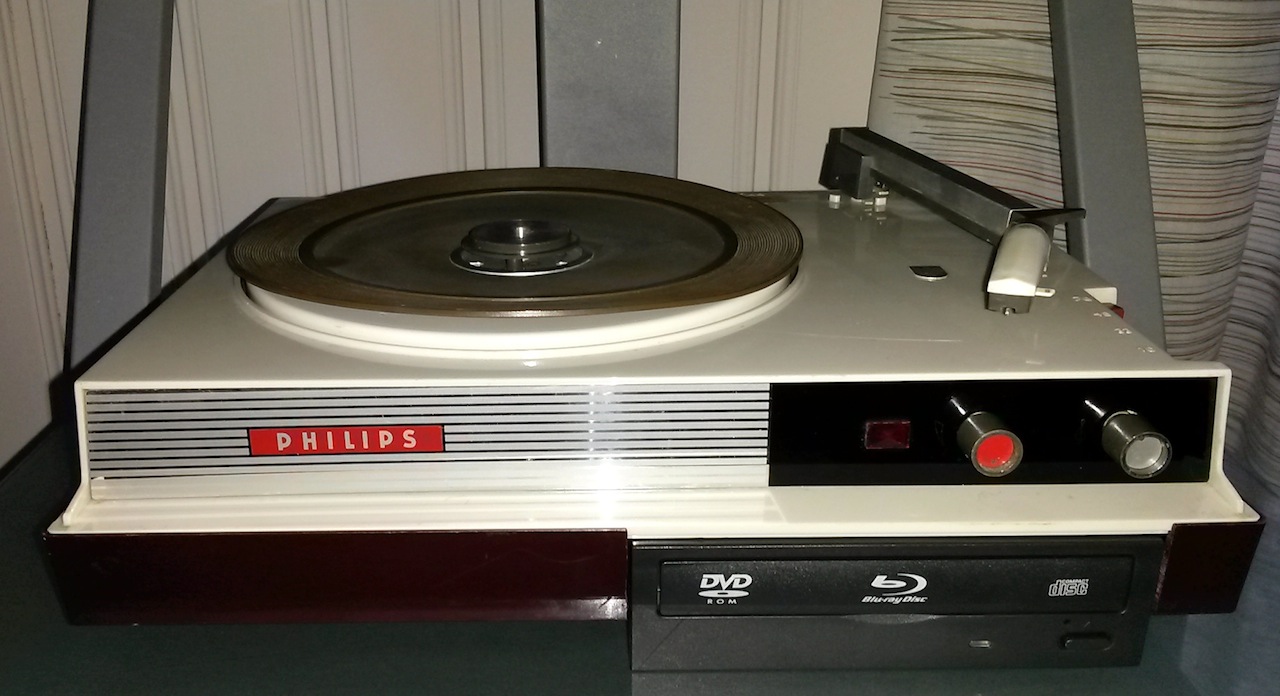
The plan for the power/volume and tone knobs is to eventually control some aspects of an LCD display and status LED.
 Atom feed